Setup Your Account
Learn how to setup your Hands In account, connect your payment processor(s), configure your brand settings and take your first payment.
Get Markdown📘 Getting Started
Set up your Hands In account in three simple steps. Before integrating with our API or using any Hands In features, you’ll need to complete these essential setup steps to get started.
1️⃣ Create a Hands In Account
To begin you will need a Hands In account to access the Merchant Dashboard, where you can manage your payment settings, API credentials, webhooks, and more.
Sign up for a Hands In account or Login here if you already have one.
2️⃣ Create a Merchant Application
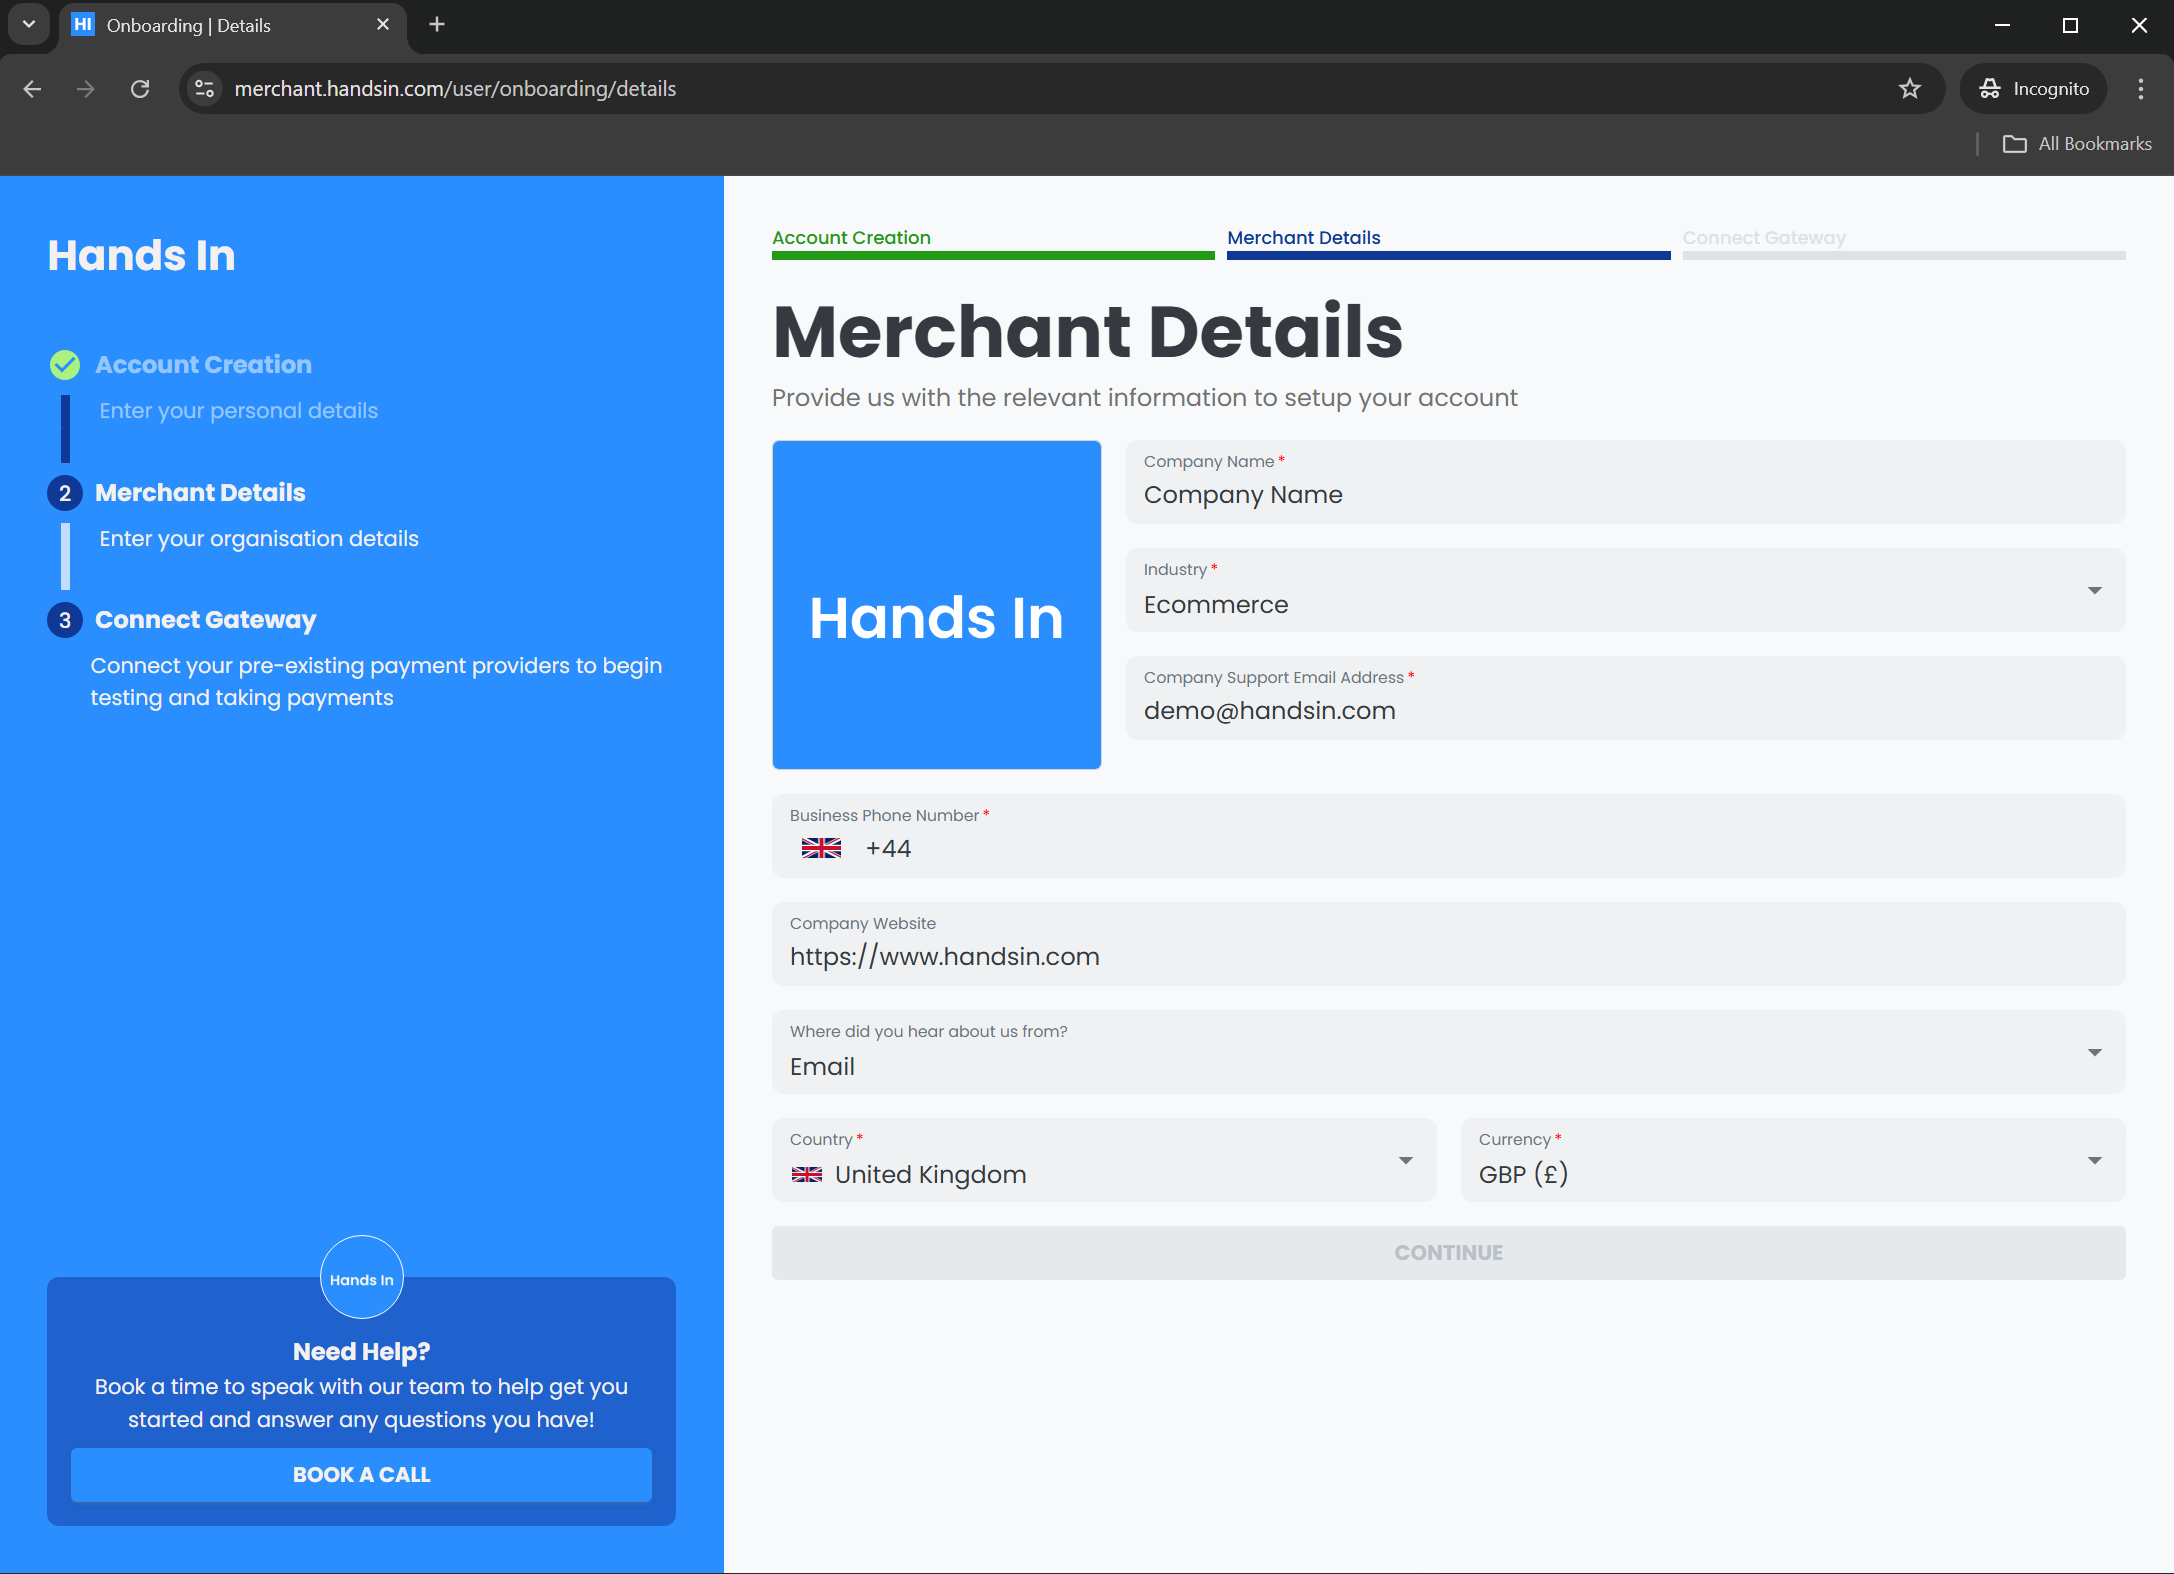
Once logged in, you will need to create a merchant application by providing some key important information about your business.
3️⃣ Connect Your Payment Processor
Before creating payments, you must connect a payment processor to your merchant application.
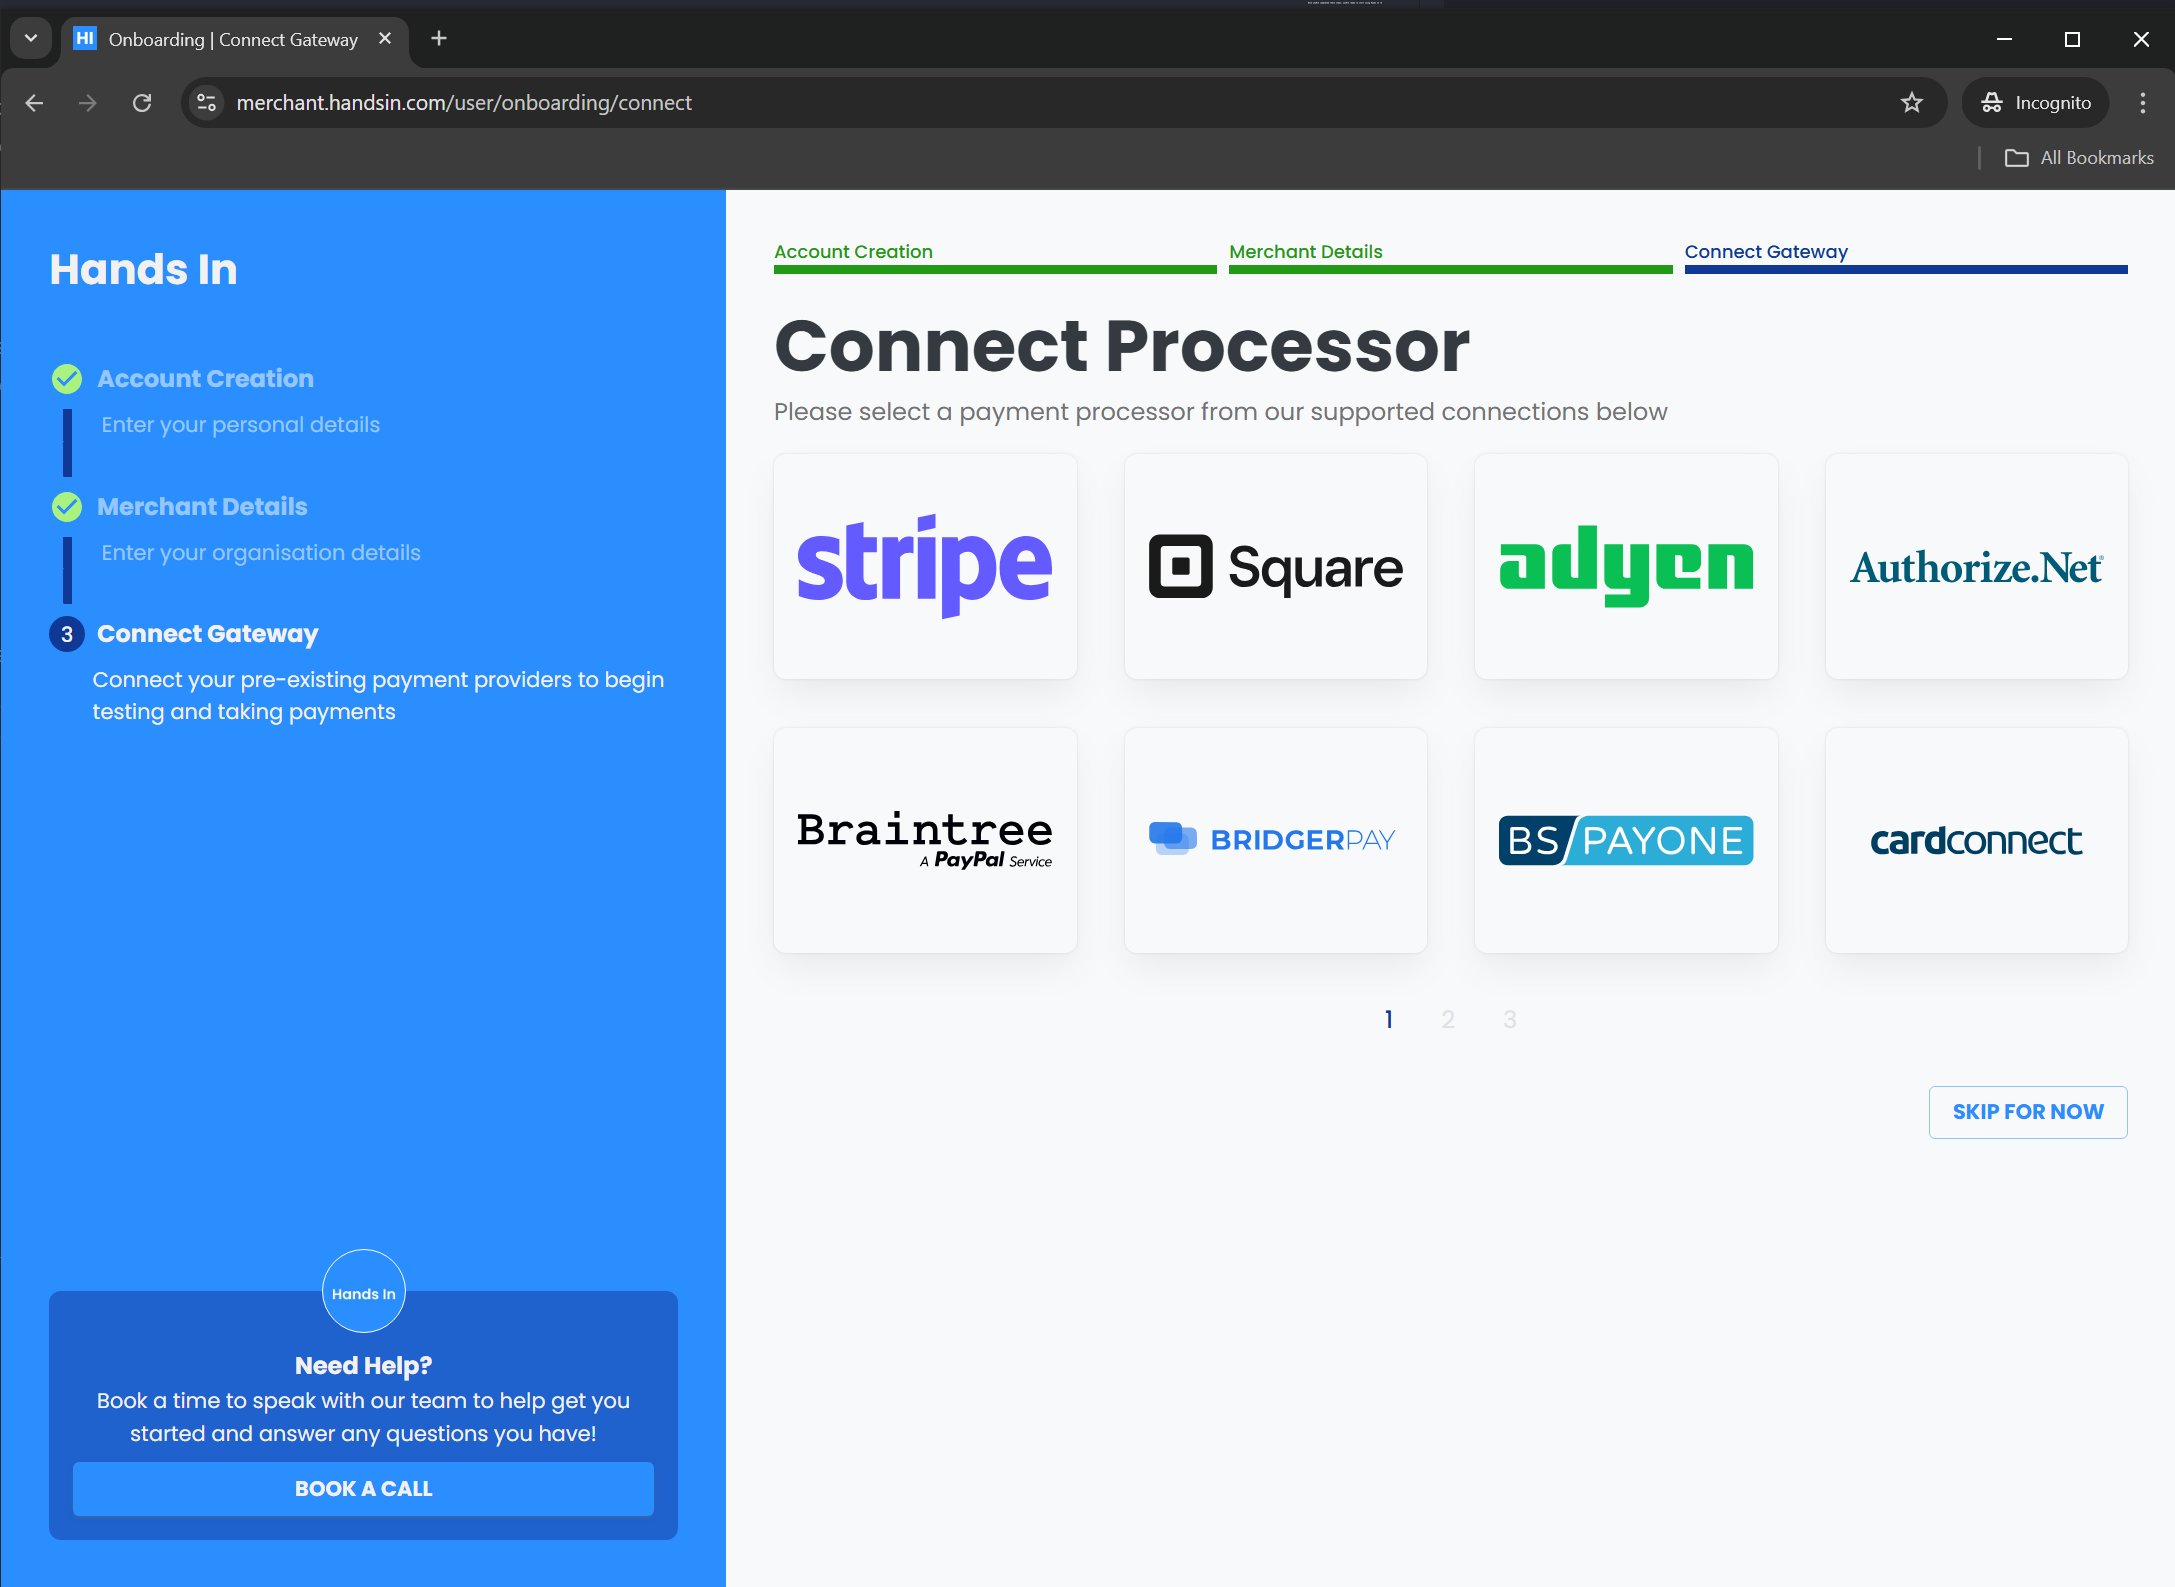
Click the payment processor you would like to connect to your Hands In account and follow the instructions displayed to complete the connection, this could include filling out credentials, API Keys and other details.
Note: If your preferred provider isn’t listed, we recommend connecting Stripe for immediate testing. Stripe requires no credentials for sandbox use and lets you start creating test payments right away. You can skip connection to gain access to our dashboard, but you will not be able to create payments.
Once you’ve established at least one connection, you will have access to our dashboard and ready to start using Hands In 🥳